File Menu
File Menu
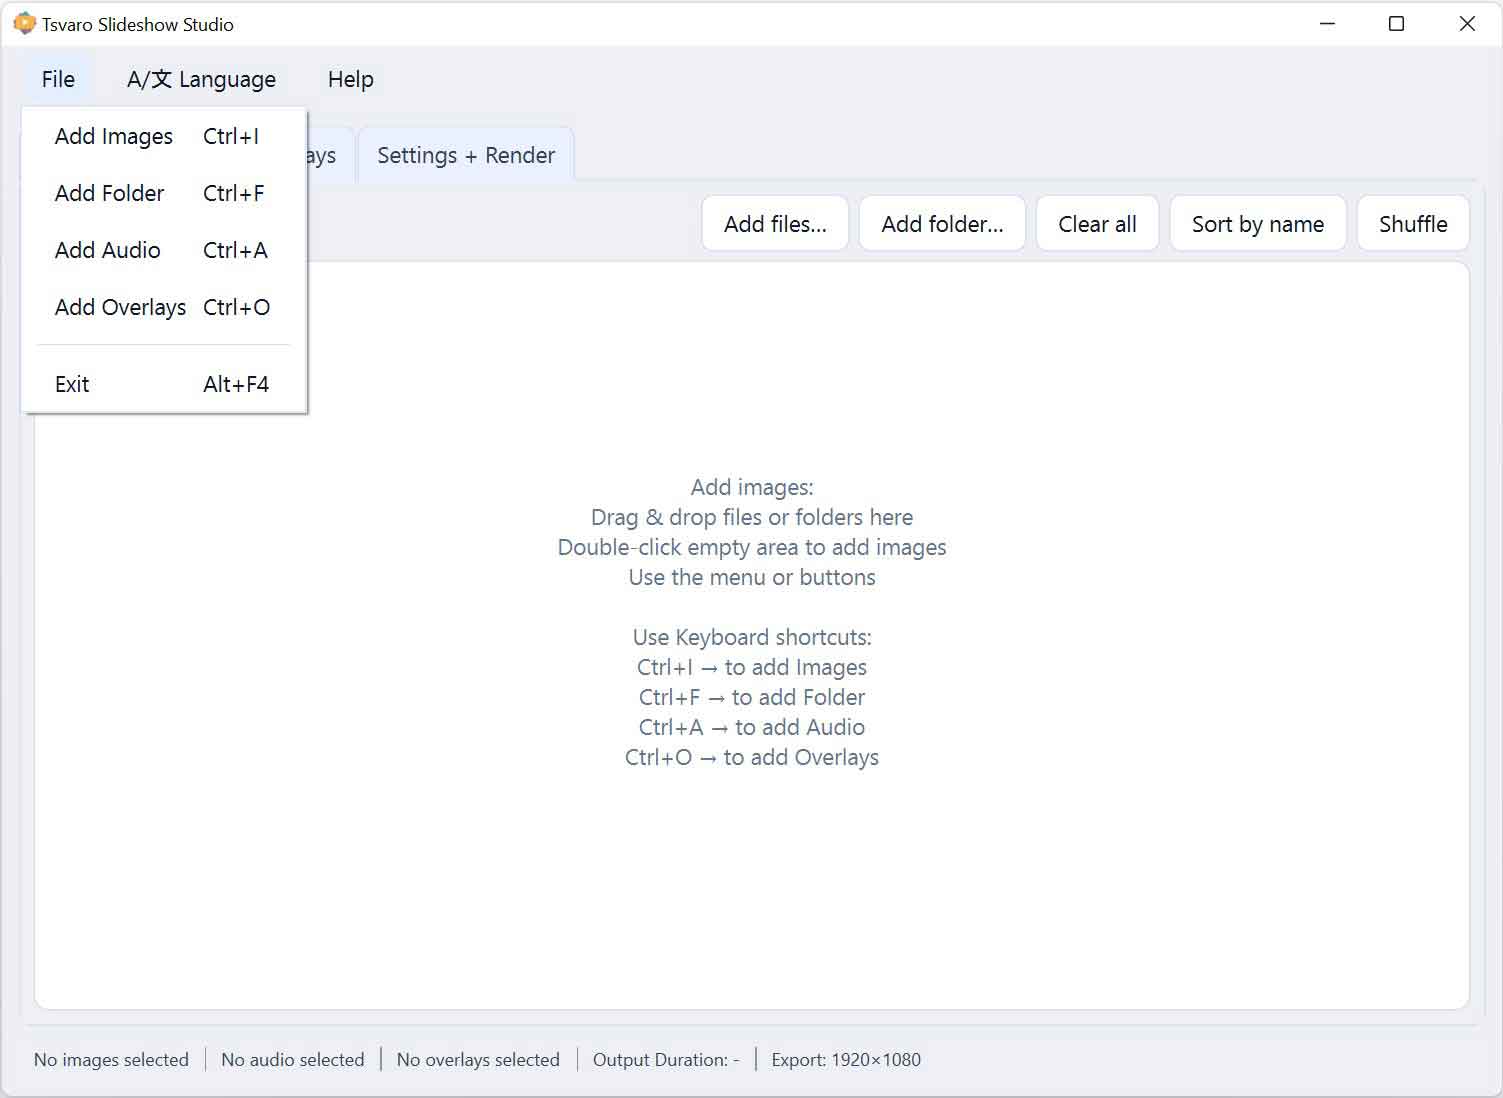
The File Menu in Tsvaro Slideshow Studio contains the core “project input” actions: adding images, adding a whole folder of images, adding an audio track, adding overlay layers, and exiting the application. These commands are also available as buttons inside the corresponding tabs, but the File Menu provides a single, always-available place to access them regardless of which tab is currently open.
All File Menu actions work on the current project in the main window. When you add files from the menu, the application updates the relevant tab (Images, Audio, or Overlays) immediately. Tsvaro Slideshow Studio does not require saving a separate “project file” to start working-your selections are reflected directly in the UI.
Add Images
Add Images opens the image file picker and allows you to select one or more image files to add to the slideshow. Selected images are appended to the current image list in the Images tab.
- Keyboard shortcut:
Ctrl+I - What it affects: the image list in the Images tab
- Typical use: when you already know which specific image files you want to include
After adding images, you can reorder them in the Images tab (drag-and-drop within the list) and apply per-image settings (Animations / Transition overrides) directly on each list item.
Add Folder
Add Folder opens a folder picker and adds images from the selected directory into the slideshow. This is the fastest way to import a large batch of images that already live in one folder.
- Keyboard shortcut:
Ctrl+F - What it affects: the image list in the Images tab
- Typical use: importing an album, event folder, scanned archive, or any directory-based image collection
Once the folder is added, you can still reorder images manually, shuffle them, or sort them by name using the controls available in the Images tab.
Add Audio
Add Audio opens the audio file picker and loads an audio track into the Audio tab. The selected file path appears in the audio file field, and the waveform preview becomes available so you can define a selection range for playback and rendering.
- Keyboard shortcut:
Ctrl+A - What it affects: the current audio file and waveform preview in the Audio tab
- Typical use: adding background music, narration, or a soundtrack to match the slideshow
After selecting audio, you can use the Audio tab to choose a specific segment (selection start/end), enable render looping, and optionally enable fade-out for the exported video’s audio.
Add Overlays
Add Overlays opens the overlay file picker and adds a new overlay layer into the Overlays tab. Overlays are visual layers (such as logos, frames, watermarks, or graphics) that appear on top of the slideshow during export.
- Keyboard shortcut:
Ctrl+O - What it affects: the overlay layers list and preview canvas in the Overlays tab
- Typical use: branding, framing, adding a watermark, or placing a graphic element consistently over the video
Once an overlay is added, you can adjust its position and size in the preview canvas, change opacity, lock/unlock aspect ratio, snap it to common anchor positions (corners or center), and reorder multiple overlay layers using the Up/Down controls.
Exit
Exit closes the application window and ends the session.
- Keyboard shortcut:
Alt+F4
If a render is currently running, the preferred workflow is to use the Abort button in the Settings + Render tab first, then exit the application normally.
Notes and practical tips
- Menu vs tab buttons: The File Menu provides global access to the same core actions available as buttons inside tabs, so you do not need to switch tabs just to add content.
- Fast import workflow: Use Add Folder for bulk imports, then use Order by name, Shuffle, or manual drag-and-drop reorder in the Images tab.
- Audio is optional: You can render a slideshow without audio, or add audio at any stage of the workflow using the File Menu.
- Overlays are optional: If you do not add overlay layers, the slideshow renders normally without them.