Quick Start
Quick Start
If you’re new to Tsvaro Slideshow Studio, don’t overthink it — the app follows a simple, traditional workflow:
add images → add audio →
1) Add your images
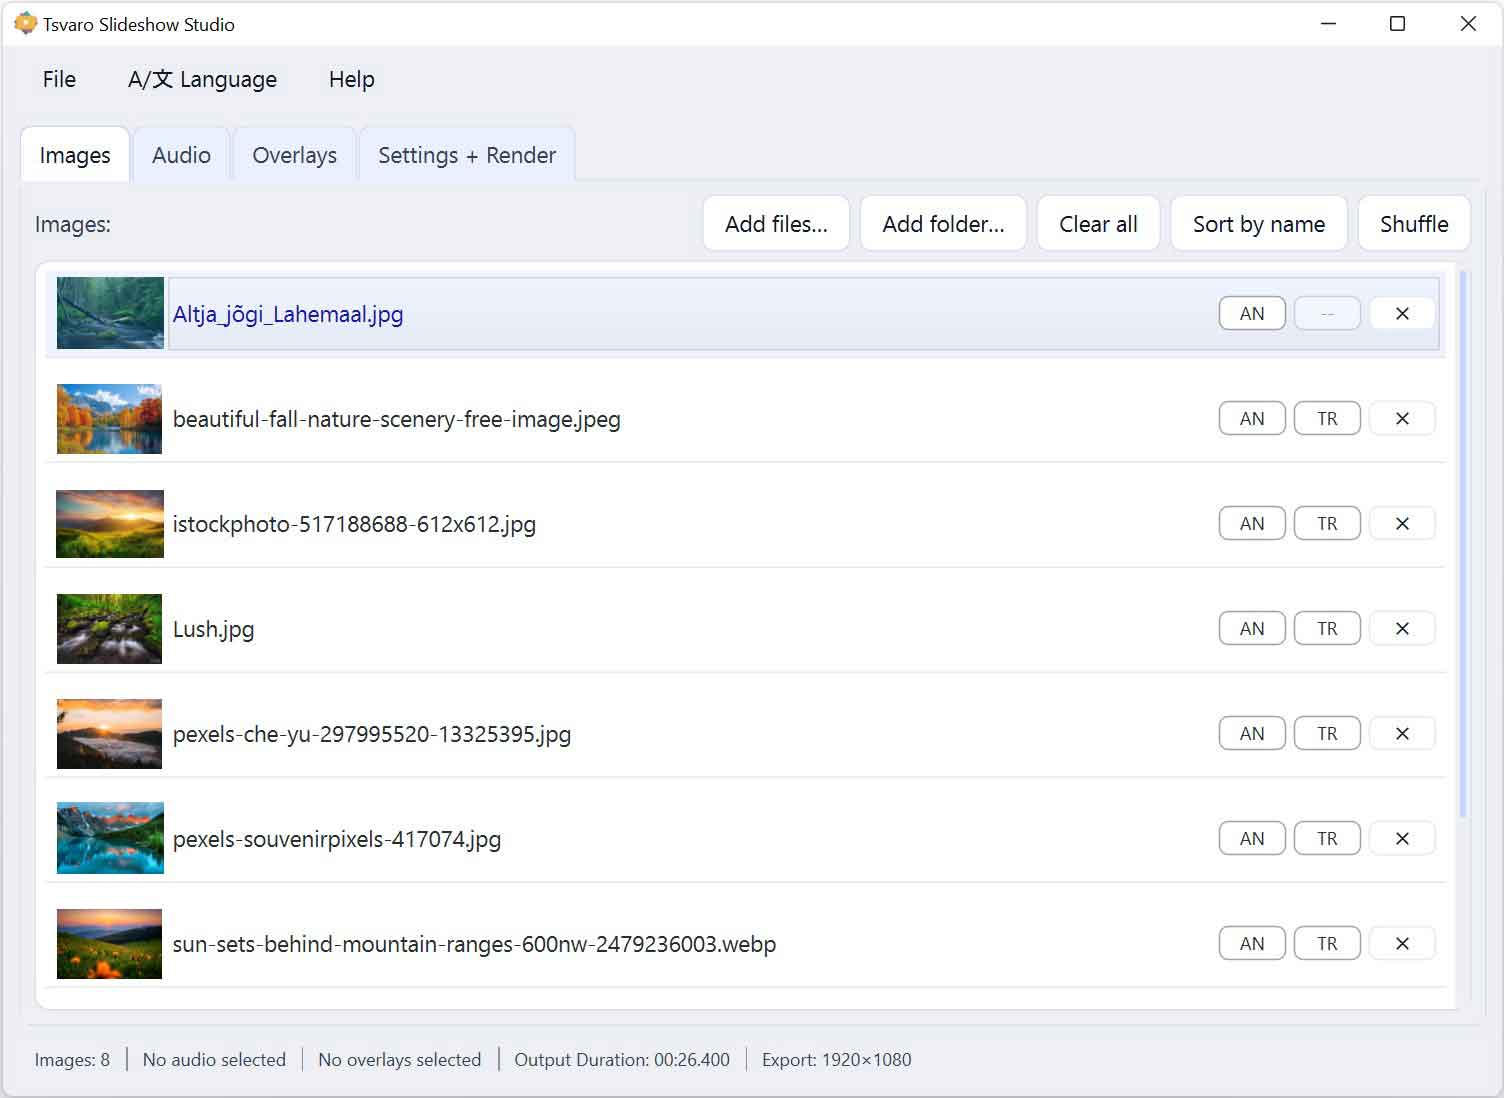
Start in the Images tab (see the screenshot of the Images tab on this page). This is where you build the visual sequence of your slideshow.
- Click Add files to select specific images, or Add folder to import a whole folder at once (exactly as shown in the screenshot).
- You can also use drag & drop: drop images directly into the list.
- Reordering matters. Drag items up/down to create your final story flow. Think of it like arranging photos on a table before you glue them into an album.
- If you imported something by mistake, use Clear all to start fresh.
Tip: For best results, avoid mixing wildly different aspect ratios in the same project (for example, very tall phone photos next to ultra-wide panoramas). It still works, but you may need to crop more aggressively depending on your output settings.
2) Optional: Shuffle the order (fast variety)
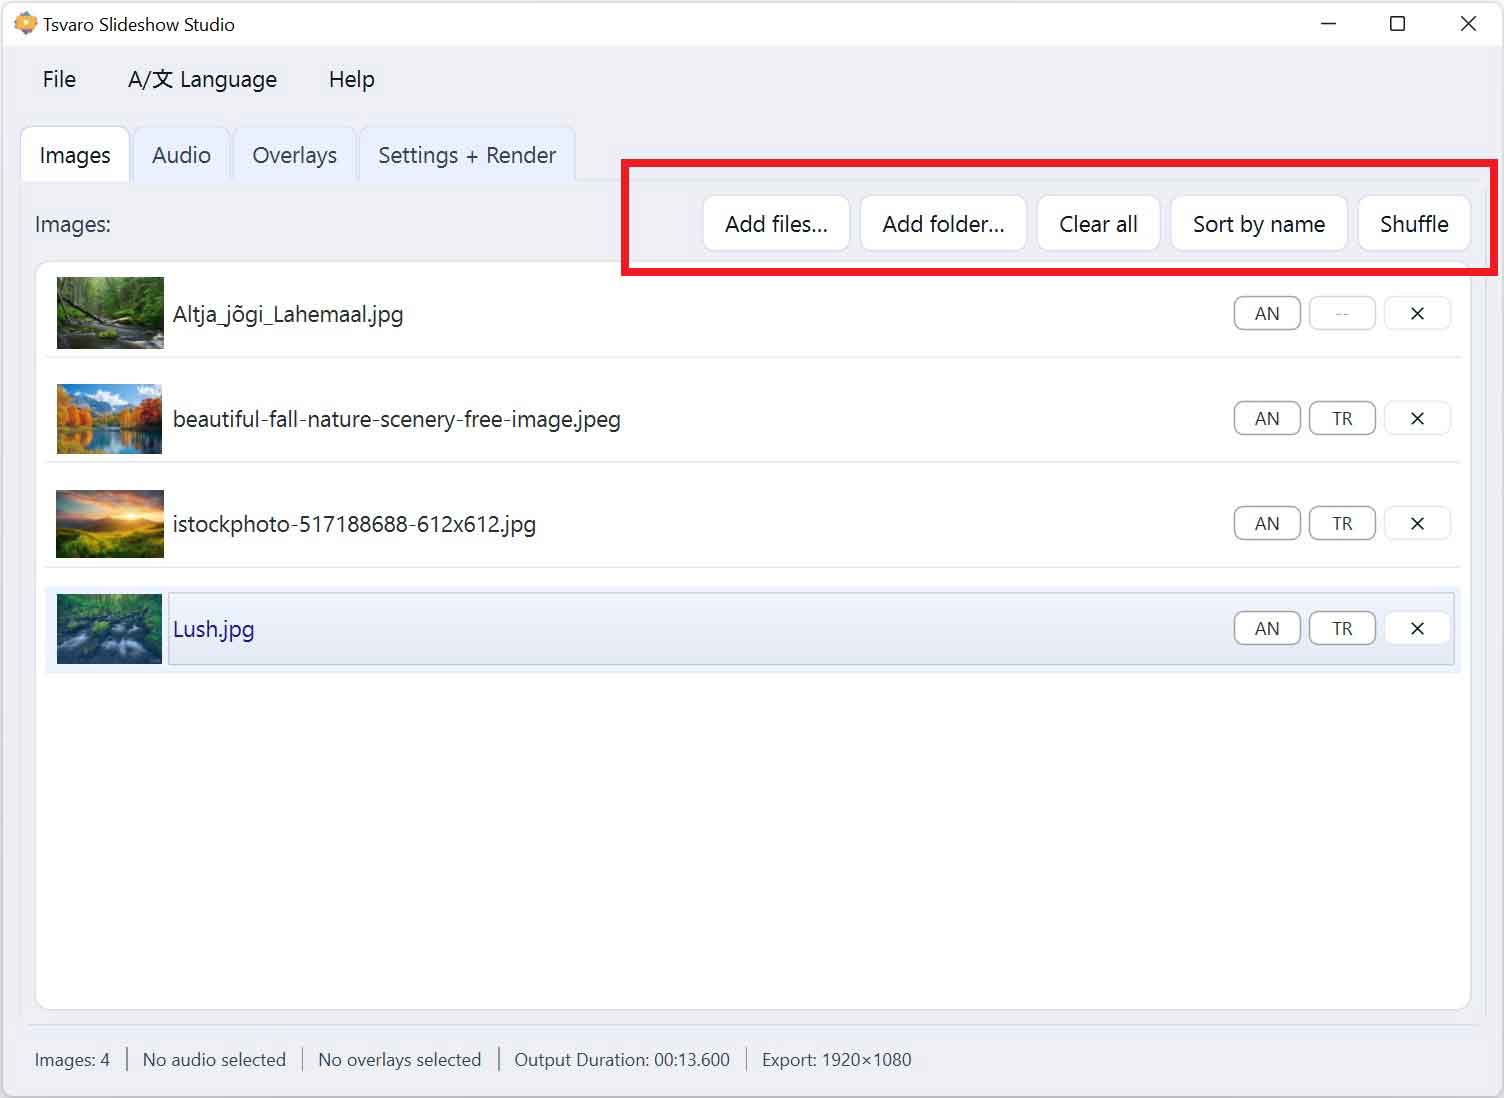
If you want a quick “random montage”, click Shuffle (see the screenshot near the Images controls). This is great for casual slideshows where the exact order is not important. If you’re making something with a story (events, exhibitions, chronological moments), keep the order manual.
3) Add your audio and choose the exact segment
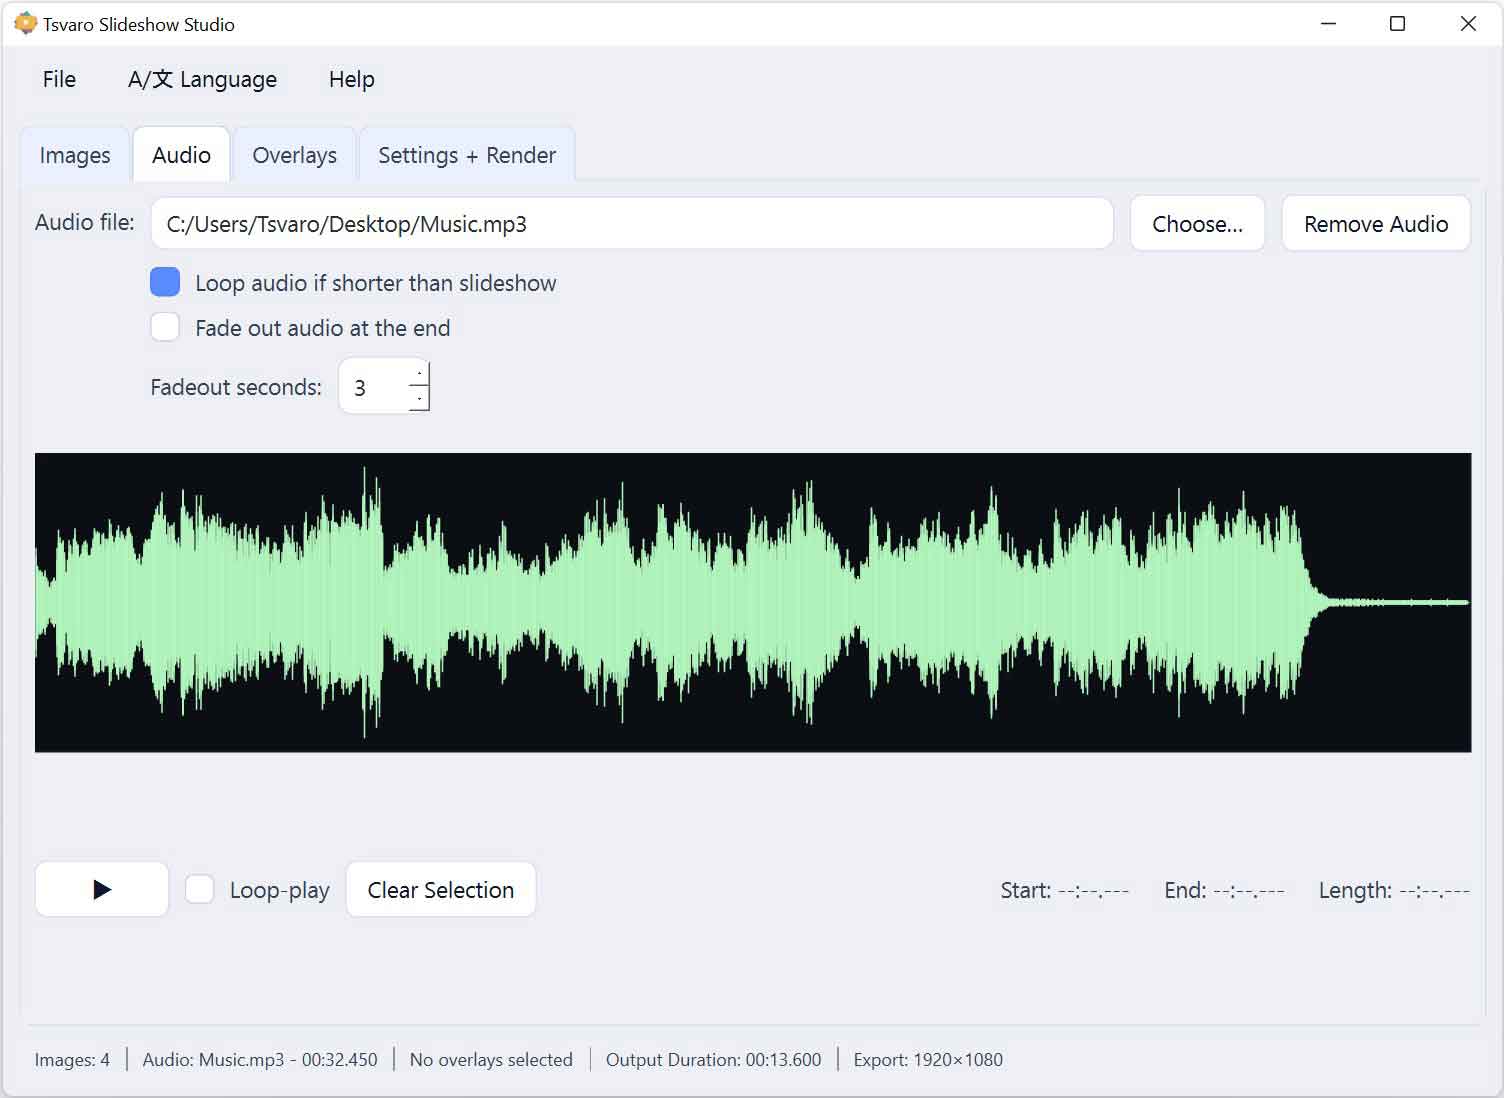
Next, open the Audio tab (see the Audio tab screenshot). This is where you decide what the viewer will hear — and where the pacing often comes from.
- Click Choose… (or the audio selection button shown in the screenshot) and select your music/narration file.
- Use the audio preview to listen and then select the exact part you want to render. The selection area you see in the screenshot is your “final cut”.
- If you only want the chorus or a specific minute of a long track, select it here — it saves time and keeps the video tight.
Important: If you skip audio, the slideshow can still render — it will simply use your image durations. If you do use audio, it’s smart to finalize your audio selection before your final render, because everything else builds on that timing.
4) Optional: Add overlays (logo, frame, labels)
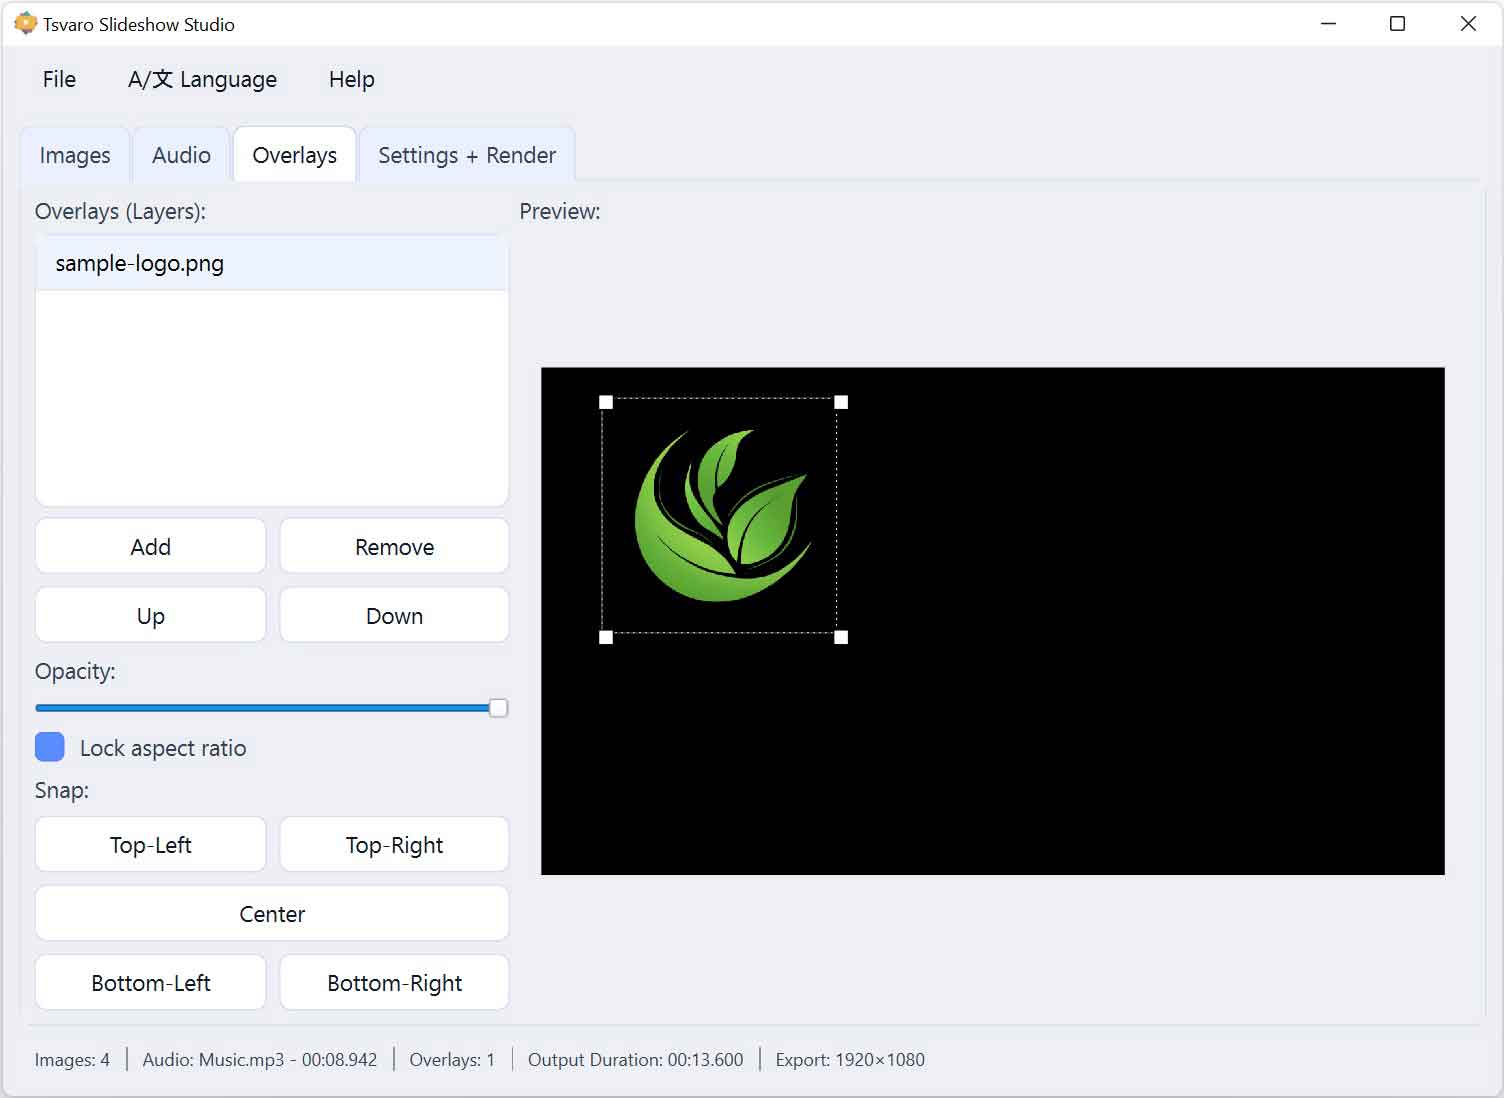
Open the Overlays tab (see the screenshot of the overlay list and controls). Overlays are visual layers that sit on top of your video — perfect for watermarks, museum/exhibition frames, logos, or subtle graphic elements.
- Add your overlay files as shown in the screenshot (most people use PNG for transparent backgrounds).
- Keep it tasteful: a small corner logo or a thin frame often looks more professional than large graphics.
- If you’re building an exhibition-style look, overlays are your best friend — they give consistency across different photos.
Tip: If an overlay looks “too strong”, try a lighter graphic (more transparency) instead of fighting it with settings. Clean always wins.
5) Choose motion and transitions (the “style” of your slideshow)
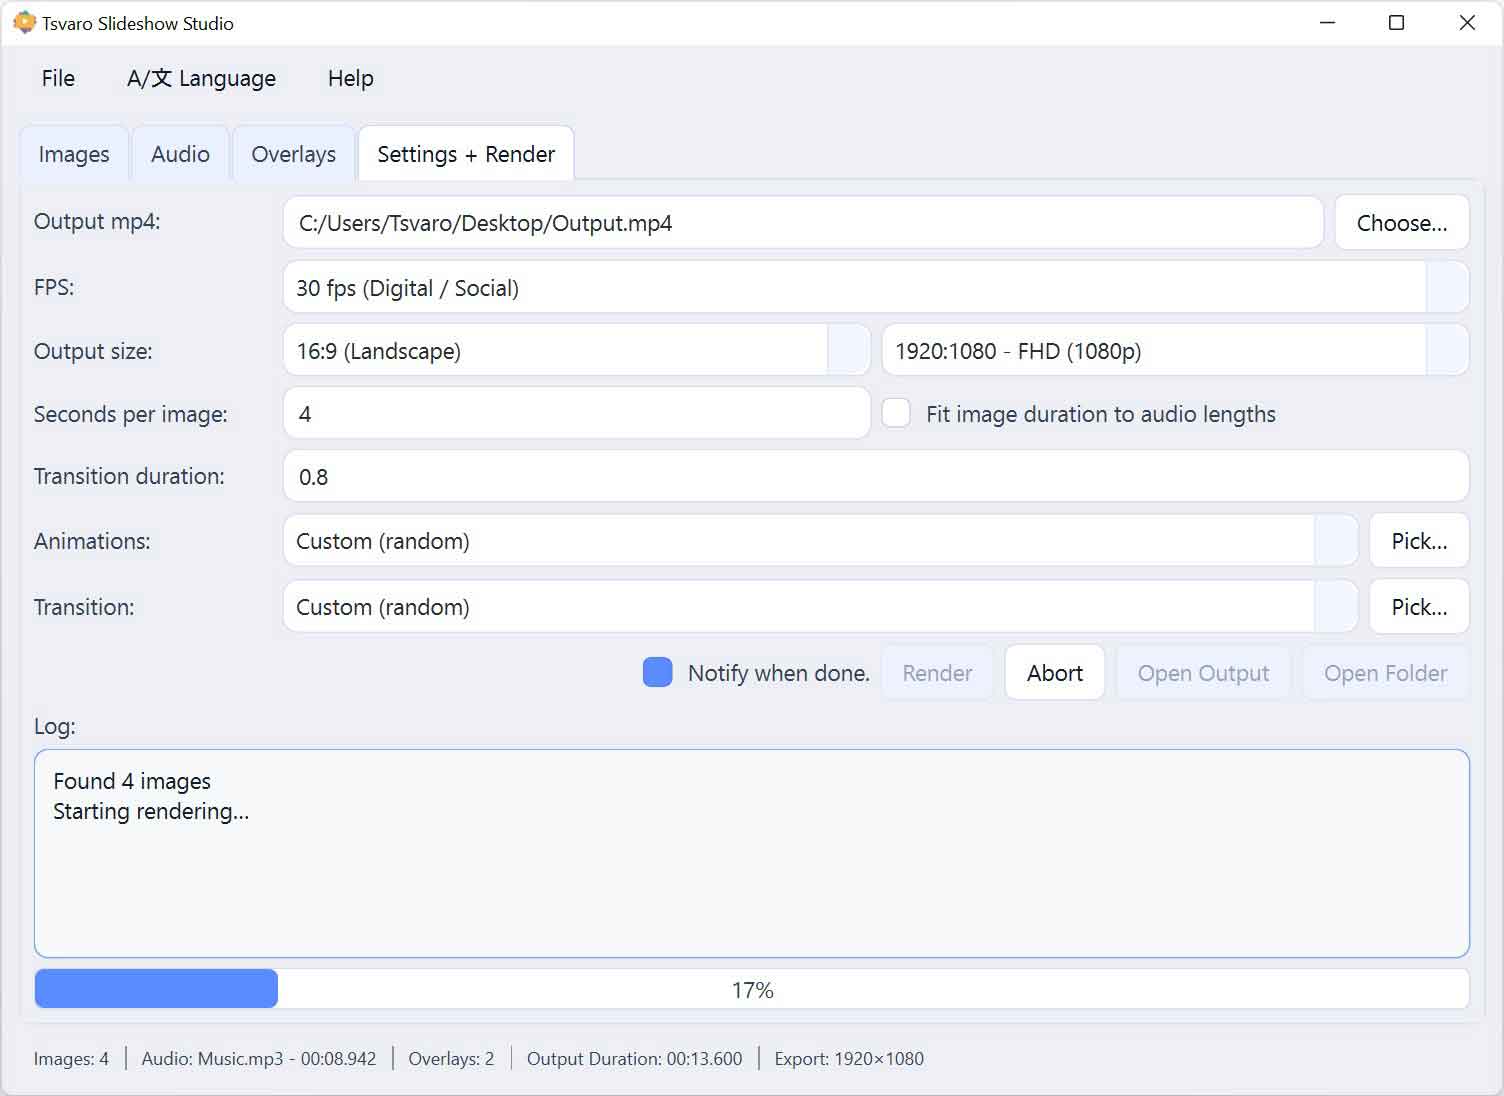
Now go to Settings + Render (see the screenshot with output settings and the render controls). This is where you choose how the slideshow feels — calm, energetic, cinematic, minimal, and so on.
- Ken Burns motion: this is the gentle zoom/pan movement that makes still photos feel alive. For a first export, choose a subtle preset. Too much zoom looks chaotic.
- Transitions: pick a transition style for the overall slideshow. Start with simple, gentle transitions — they look professional and never get old.
- If you see indicators in the Images list showing per-image overrides (as shown in the screenshots), it means some images can have custom motion/transition settings. That’s powerful, but for your first project, keep it simple and consistent.
6) Set output quality (resolution and FPS)
Still in Settings + Render, choose your output quality. If you’re unsure, use these safe defaults (they work everywhere and look good):
- Resolution: 1920×1080 (Full HD)
- FPS: 30
- Image duration: 3–5 seconds per image (adjust based on your music)
Tip: If rendering feels slow, do a quick test export at 1280×720. Once everything looks right, export the final version in 1920×1080.
7) Render and find your video
When you’re ready, click Render (see the screenshot where the Render button and progress are shown). The app will process your images, audio, transitions, and overlays into one final video file.
- Wait for the render to finish. Longer videos and higher resolutions will naturally take more time.
- When it’s done, use Open Output Directory to jump straight to the folder with your exported video. (That button is shown in the Settings + Render screenshot.)
A good first workflow (recommended)
- Step 1: Add 10–20 images
- Step 2: Pick a short audio segment (30–60 seconds)
- Step 3: Use gentle transitions + subtle Ken Burns
- Step 4: Render in 720p for a quick test
- Step 5: If it looks right, render the final version in 1080p
That’s it. Once you complete one clean export, everything becomes easy — the app is designed to stay out of your way. If you want to go deeper (more precise pacing, custom looks, overlays per scene), we’ll cover that in the next sections.