Add / Remove / Order Controls
Overlays Tab - Add / Remove / Order Controls
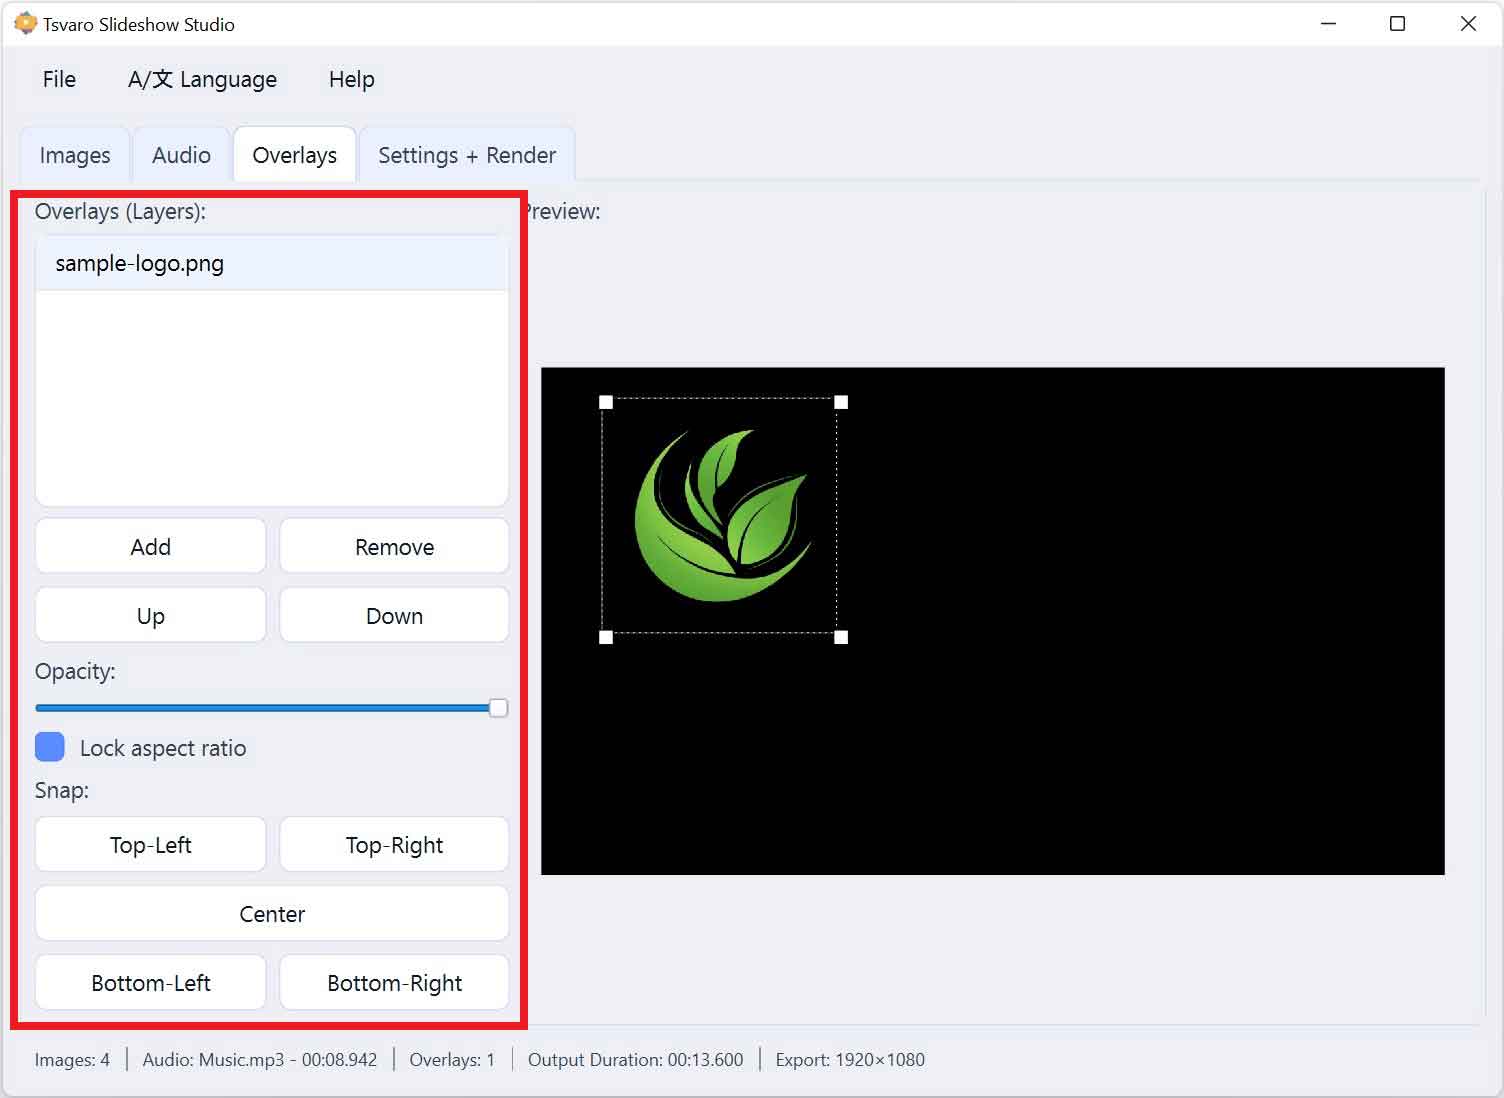
The Add / Remove / Order Controls panel in Tsvaro Slideshow Studio is the command center for managing overlay layers. Everything here affects how overlays are added, removed, stacked, and positioned-before you render the final video.
Think of overlays as “layers on top of your slideshow.” If you add multiple overlays (for example: a frame + a logo + a watermark), the order and visibility of those layers matters. This panel gives you all the tools you need to control that stack clearly and predictably.
Add overlay
Add opens a file picker and adds a new overlay layer to your project.
- The selected overlay appears in the Overlay List (Layers).
- The new overlay is immediately available for positioning and resizing inside the preview canvas.
- You can add multiple overlay layers-there is no “one overlay only” limitation.
Remove overlay
Remove deletes the currently selected overlay layer from the overlay list.
- Only the selected layer is removed.
- Other overlays remain unchanged.
- This is a project-level removal: the layer disappears from preview and will not be rendered.
Move Up / Move Down (layer stacking order)
These two buttons control the rendering priority of overlays by changing their order in the overlay list.
- Up moves the selected overlay one step higher in the list.
- Down moves the selected overlay one step lower in the list.
- The list order defines the stacking order: overlays later in the stack appear above earlier ones.
This is essential when overlays overlap. For example, you usually want a logo to appear above a decorative frame, or a watermark to appear above everything.
Opacity
The Opacity slider controls how transparent the selected overlay layer appears.
- 100% means the overlay is fully visible (solid).
- 0% means the overlay is fully transparent (invisible).
- Values in between allow subtle overlays such as soft frames, watermarks, or lightly visible branding.
Opacity is applied per overlay layer, so each layer can have its own transparency level.
Lock aspect ratio
The Lock aspect ratio checkbox determines how resizing behaves for the selected overlay.
- Enabled: resizing preserves the original proportions (recommended for logos and non-stretch graphics).
- Disabled: width and height can change independently, allowing free-form stretching (use carefully).
This control exists because overlays are often brand assets (logos, seals, emblems) that should not be distorted.
Snap / Align controls
The Snap section contains quick alignment buttons that instantly position the selected overlay at common anchor points. This is the fastest way to get clean, consistent placement without manual dragging.
- Top Left
- Top Right
- Center
- Bottom Left
- Bottom Right
Snap buttons are especially useful for:
- placing a logo in a corner with consistent spacing,
- centering a frame or decorative overlay perfectly,
- re-aligning overlays quickly after changing output size or aspect ratio.
Important workflow note
These controls operate on the currently selected overlay layer. If no overlay is selected, actions like opacity, locking aspect ratio, or snapping have no meaningful target. A good habit is to select the overlay in the list first, then adjust it here.